Free shipping on orders over $49
AloeThere
Login
Back to blog

Plant care field guide

September 27, 20265 min readBy AloeThere

New Houseplant Care: What to Do in the First 30 Days

A practical first-month plan for a new houseplant: inspect it, choose a suitable spot, learn its watering cues, and avoid unnecessary changes.

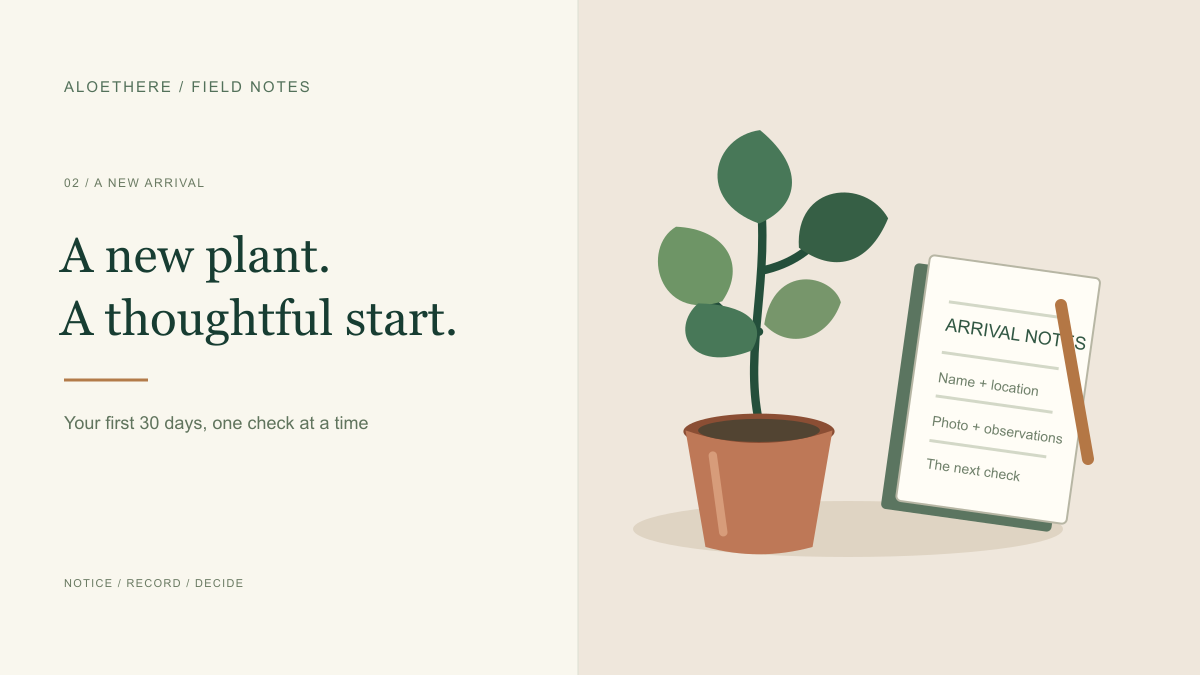
Illustration of a new houseplant beside an arrival notebook for photos, observations, and the next check.

Start a new houseplant’s first month with an inspection, a suitable location, and a record of its condition. Do not make repotting, fertilizing, or watering automatic arrival-day tasks. University of Missouri Extension notes that newly purchased plants often do not need immediate repotting and may already have received fertilizer. Read its houseplant-care guidance.

Use the 30 days here as an organizing framework, not a promise that every plant settles in within a month. Watering, pest management, and other care decisions still depend on what you observe. A calendar can remind you to look; it cannot tell you what the roots need.

Arrival day: make a baseline before making changes

Save the plant’s label or receipt information, and note where you bought or received it. Record the name as uncertain when it has not been confirmed. “Sold as a philodendron; identification to confirm” is better than building a care routine around a guess presented as fact.

Take one whole-plant photo and a close-up of any existing damaged area. Include a picture of the container setup so you can distinguish the nursery pot from a decorative outer pot later.

Your arrival record can be simple:

  • The plant’s name, or the identification you need to check.
  • Its arrival date and intended location.
  • Existing marks, damaged leaves, or visible pests.
  • What you actually know about recent watering or feeding.

Write “unknown” when necessary. An unknown last-watering date is not an instruction to water immediately.

Keep the newcomer separate while you inspect it

Examine leaf undersides, stems, and the pot for pests before placing the new plant among the rest of your collection. University of Minnesota Extension recommends separating new plants for one to two weeks. Its indoor-pest guide explains inspection and prevention.

Make that separation workable: identify where the plant will stay and set a reminder to inspect it again. A reminder reading “inspect new plant’s leaf undersides” is more useful than “quarantine ends.” Finding a problem changes the plan; reaching a date does not certify that a plant is pest-free.

Put suspicious findings in a photo record rather than relying on memory. The plant-problem photo checklist helps you collect clear views before asking for identification or advice.

Choose a location you can explain

Match the plant’s requirements to the actual growing location. Check available light, and avoid obvious temperature extremes such as contact with cold window glass or a nearby heating vent. Oregon State University Extension emphasizes choosing the right plant for the right place.

Record the setup in ordinary language: “bedroom shelf beside the window; curtain usually open,” for example. This is an illustrative description, not a recommended location for every species.

Before making another move, write down what you are trying to improve. “Moving it because the label calls for more light than this shelf receives” is a decision you can evaluate. “Moving it because it still looks unfamiliar” is much harder to learn from.

During the first week, learn the watering decision

Check moisture before watering instead of assigning a schedule based on the purchase date. The potting mix, container, plant, and growing conditions all affect the interval. When the plant needs water, allow drainage and remove collected water from the saucer or outer pot. University of Maryland Extension explains how to assess watering needs.

Use a short observation log:

DateWhat you checkedWhat you foundWhat you did

Write the observation first. For example, “checked mix; still moist; did not water” records a decision. “Watered” records an action but leaves out why you chose it. The example describes a logging format, not a species-specific moisture target.

The indoor watering guide can help you turn those checks into a repeatable habit.

Make repotting and fertilizer separate decisions

A new purchase is not, by itself, a reason to replace the pot. Missouri Extension cautions that unnecessary immediate repotting adds stress. It also notes that recently purchased plants may not need additional fertilizer right away. Check what care the plant has already received, and identify the reason for an intervention before adding it to the to-do list.

Check the container arrangement, too. A decorative outer pot can work with a draining inner pot, provided excess water can be removed. Adding gravel does not substitute for drainage. Iowa State University Extension explains containers and repotting considerations.

This is not an instruction to ignore an unsuitable container or a diagnosed root problem. It is a prompt to distinguish a necessary correction from an optional makeover.

Weeks two to four: compare, then adjust

Choose a check-in that fits your routine. Compare the plant with the arrival photo, not with an idealized picture of a different specimen online. Are the original marks unchanged? Are new marks appearing? Have the location or watering conditions changed since the last check?

Use this decision note whenever you make an adjustment:

Decision fieldYour notes
Observation: what is different?
Possible explanation: what evidence supports it?
Action: what, specifically, will change?
Follow-up: what will I check next?

Do not fill the “possible explanation” line with a certain diagnosis when you only have a symptom. A yellow leaf, for example, is a reason to investigate conditions, not a complete diagnosis. Our yellow-leaf guide provides a structured place to start.

At the end of the month, keep the useful parts

You do not need an elaborate spreadsheet for every plant. Keep the pieces that improved your decisions: the identification, location, baseline photo, moisture checks, and meaningful changes.

Transfer those into a weekly houseplant-care routine. When someone else needs to help, put the actual checking instructions into a plant-sitter card instead of passing along a watering frequency you have not established.

The useful outcome of the first month is a clearer care record, not a guarantee of new growth, perfect leaves, or a permanently fixed schedule.